Starter Kits
Introduction
To give you a head start building your new Laravel application, we are happy to offer authentication and application starter kits. These kits automatically scaffold your application with the routes, controllers, and views you need to register and authenticate your application's users.
While you are welcome to use these starter kits, they are not required. You are free to build your own application from the ground up by simply installing a fresh copy of Laravel. Either way, we know you will build something great!
Laravel Breeze
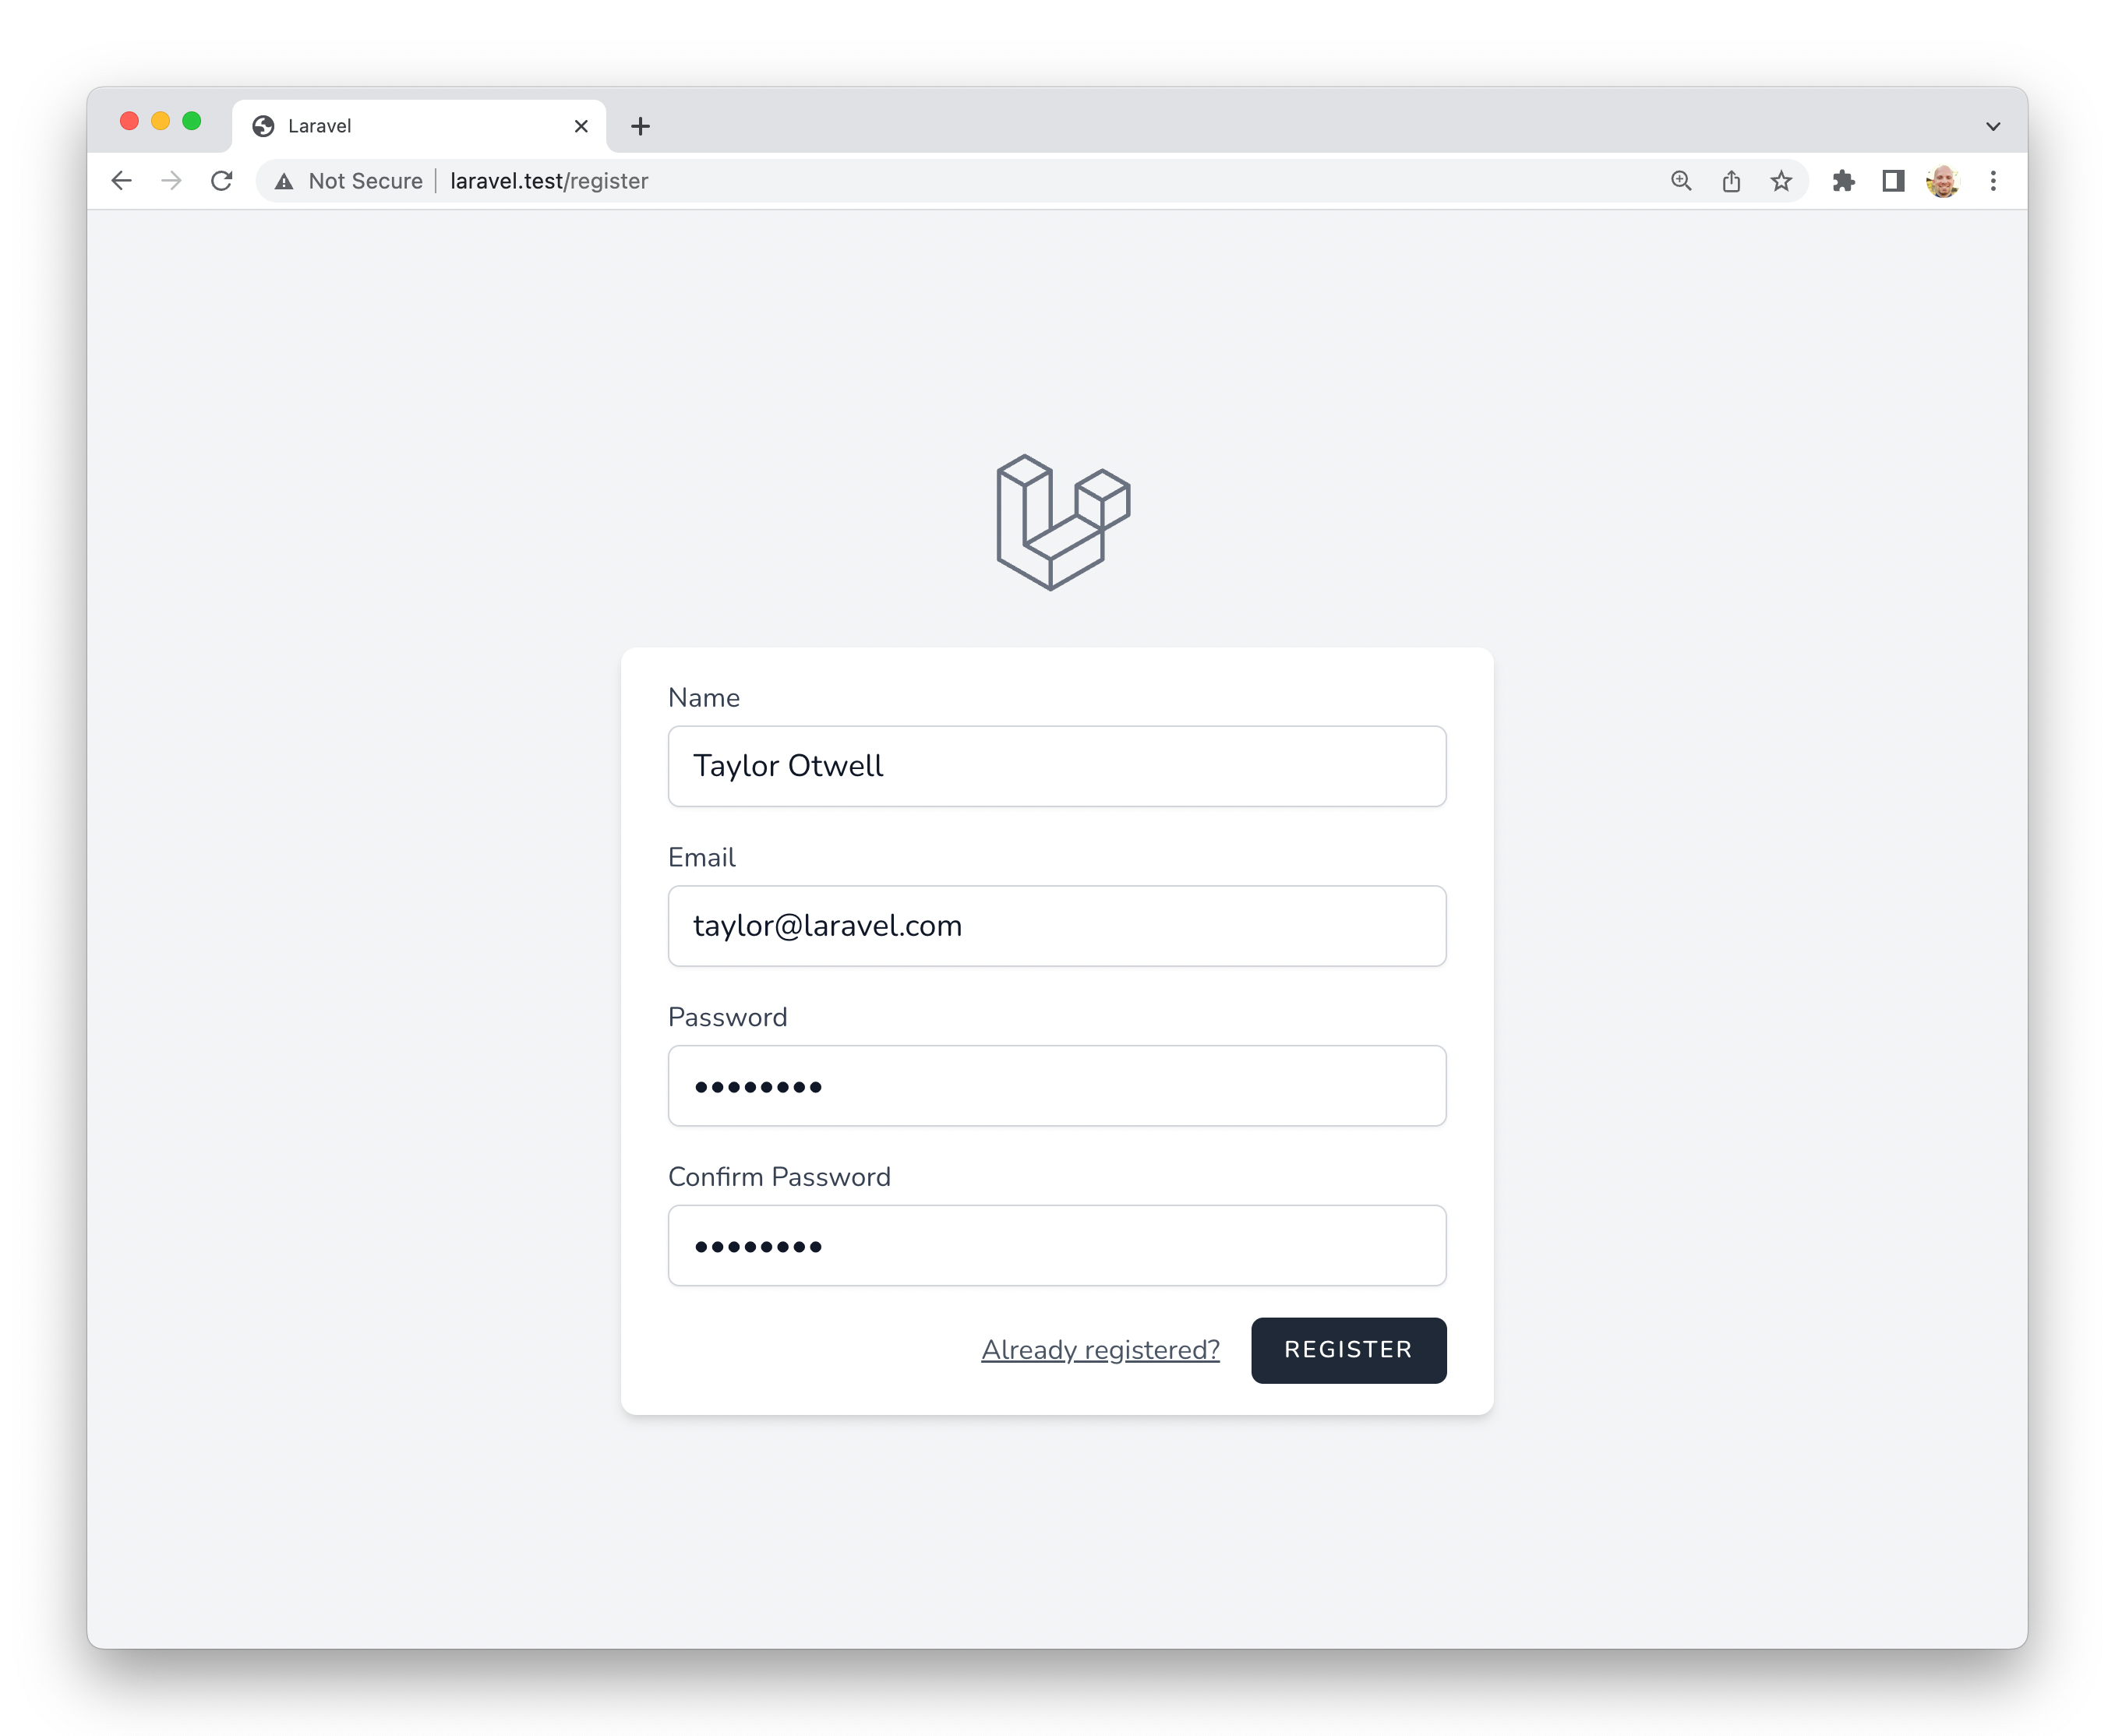
Laravel Breeze is a minimal, simple implementation of all of Laravel's authentication features, including login, registration, password reset, email verification, and password confirmation. In addition, Breeze includes a simple "profile" page where the user may update their name, email address, and password.
Laravel Breeze's default view layer is made up of simple Blade templates styled with Tailwind CSS. Or, Breeze can scaffold your application using Vue or React and Inertia.
Breeze provides a wonderful starting point for beginning a fresh Laravel application and is also a great choice for projects that plan to take their Blade templates to the next level with Laravel Livewire.
Laravel Bootcamp
If you're new to Laravel, feel free to jump into the Laravel Bootcamp. The Laravel Bootcamp will walk you through building your first Laravel application using Breeze. It's a great way to get a tour of everything that Laravel and Breeze have to offer.
Installation
First, you should create a new Laravel application, configure your database, and run your database migrations. Once you have created a new Laravel application, you may install Laravel Breeze using Composer:
1composer require laravel/breeze --devOnce Breeze is installed, you may scaffold your application using one of the Breeze "stacks" discussed in the documentation below.
Breeze & Blade
After Composer has installed the Laravel Breeze package, you may run the breeze:install Artisan command. This command publishes the authentication views, routes, controllers, and other resources to your application. Laravel Breeze publishes all of its code to your application so that you have full control and visibility over its features and implementation.
The default Breeze "stack" is the Blade stack, which utilizes simple Blade templates to render your application's frontend. The Blade stack may be installed by invoking the breeze:install command with no other additional arguments. After Breeze's scaffolding is installed, you should also compile your application's frontend assets:
1php artisan breeze:install2 3php artisan migrate4npm install5npm run devNext, you may navigate to your application's /login or /register URLs in your web browser. All of Breeze's routes are defined within the routes/auth.php file.
Dark Mode
If you would like Breeze to include "dark mode" support when scaffolding your application's frontend, simply provide the --dark directive when executing the breeze:install command:
1php artisan breeze:install --darkTo learn more about compiling your application's CSS and JavaScript, check out Laravel's Vite documentation.
Breeze & React / Vue
Laravel Breeze also offers React and Vue scaffolding via an Inertia frontend implementation. Inertia allows you to build modern, single-page React and Vue applications using classic server-side routing and controllers.
Inertia lets you enjoy the frontend power of React and Vue combined with the incredible backend productivity of Laravel and lightning-fast Vite compilation. To use an Inertia stack, specify vue or react as your desired stack when executing the breeze:install Artisan command. After Breeze's scaffolding is installed, you should also compile your application's frontend assets:
1php artisan breeze:install vue2 3# Or...4 5php artisan breeze:install react6 7php artisan migrate8npm install9npm run devNext, you may navigate to your application's /login or /register URLs in your web browser. All of Breeze's routes are defined within the routes/auth.php file.
Server-Side Rendering
If you would like Breeze to scaffold support for Inertia SSR, you may provide the ssr option when invoking the breeze:install command:
1php artisan breeze:install vue --ssr2php artisan breeze:install react --ssrBreeze & Next.js / API
Laravel Breeze can also scaffold an authentication API that is ready to authenticate modern JavaScript applications such as those powered by Next, Nuxt, and others. To get started, specify the api stack as your desired stack when executing the breeze:install Artisan command:
1php artisan breeze:install api2 3php artisan migrateDuring installation, Breeze will add a FRONTEND_URL environment variable to your application's .env file. This URL should be the URL of your JavaScript application. This will typically be http://localhost:3000 during local development. In addition, you should ensure that your APP_URL is set to http://localhost:8000, which is the default URL used by the serve Artisan command.
Next.js Reference Implementation
Finally, you are ready to pair this backend with the frontend of your choice. A Next reference implementation of the Breeze frontend is available on GitHub. This frontend is maintained by Laravel and contains the same user interface as the traditional Blade and Inertia stacks provided by Breeze.
Laravel Jetstream
While Laravel Breeze provides a simple and minimal starting point for building a Laravel application, Jetstream augments that functionality with more robust features and additional frontend technology stacks. For those brand new to Laravel, we recommend learning the ropes with Laravel Breeze before graduating to Laravel Jetstream.
Jetstream provides a beautifully designed application scaffolding for Laravel and includes login, registration, email verification, two-factor authentication, session management, API support via Laravel Sanctum, and optional team management. Jetstream is designed using Tailwind CSS and offers your choice of Livewire or Inertia driven frontend scaffolding.
Complete documentation for installing Laravel Jetstream can be found within the official Jetstream documentation.